
Follow the steps to import and synchronize people between your organization in Huma and your PowerOffice account.
1. Get a Client Key from PowerOffice
2. Connect Huma to PowerOffice
3. Synchronize users and choose how to handle conflicts or missing values
4. Your connection between Huma and PowerOffice is active 🥳
1. Get a Client Key from PowerOffice
- Log in to your PowerOffice account
- Open Menu and choose 'Settings'
- Open 'Extensions' in 'System' section
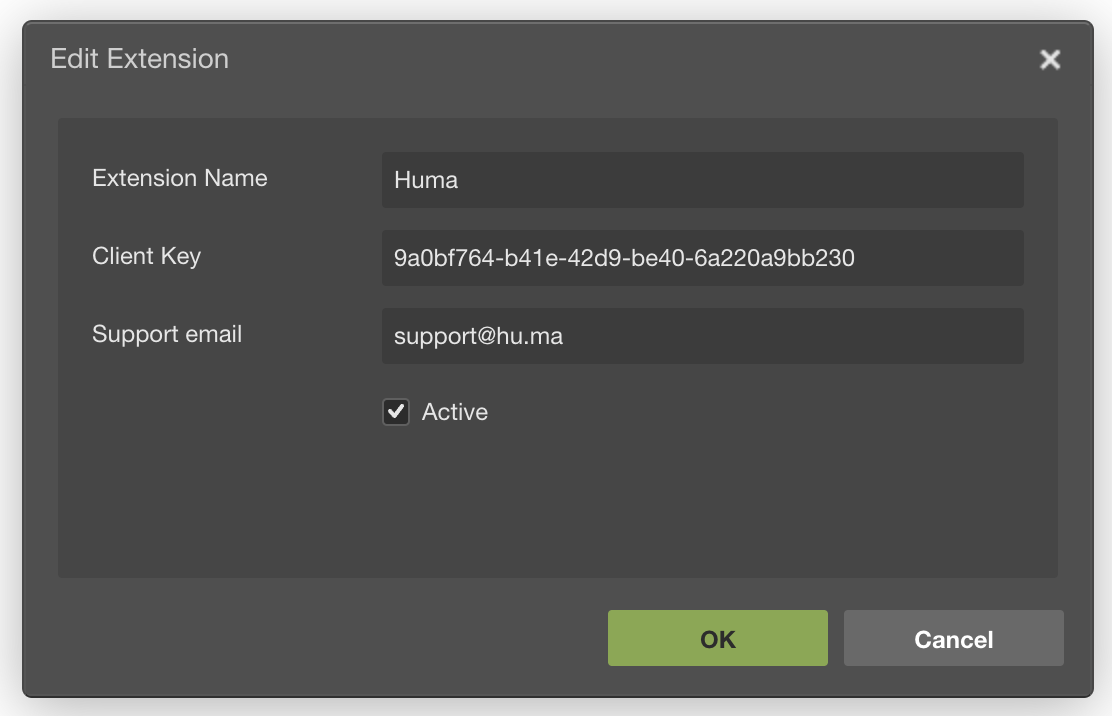
- Click 'Add Extension'
- Choose 'Huma' in the dropdown
- Copy the 'Client Key' and save the Extension
For more information about the Client Key / Extensions / API go to PowerOffice
Please note that you need access to be able to create a new extension and generate a Client Key in PowerOffice. You need to be logged in to PowerOffice and have the correct authorization to be able to do this. Please contact your PowerOffice system administrator if you do not have the necessary privileges in PowerOffice.
2. Connect Huma to PowerOffice
To access Integrations under System settings you'll need a System role with permissions to do Organization-wide settings. Read more here
- Log in to your Huma organisation
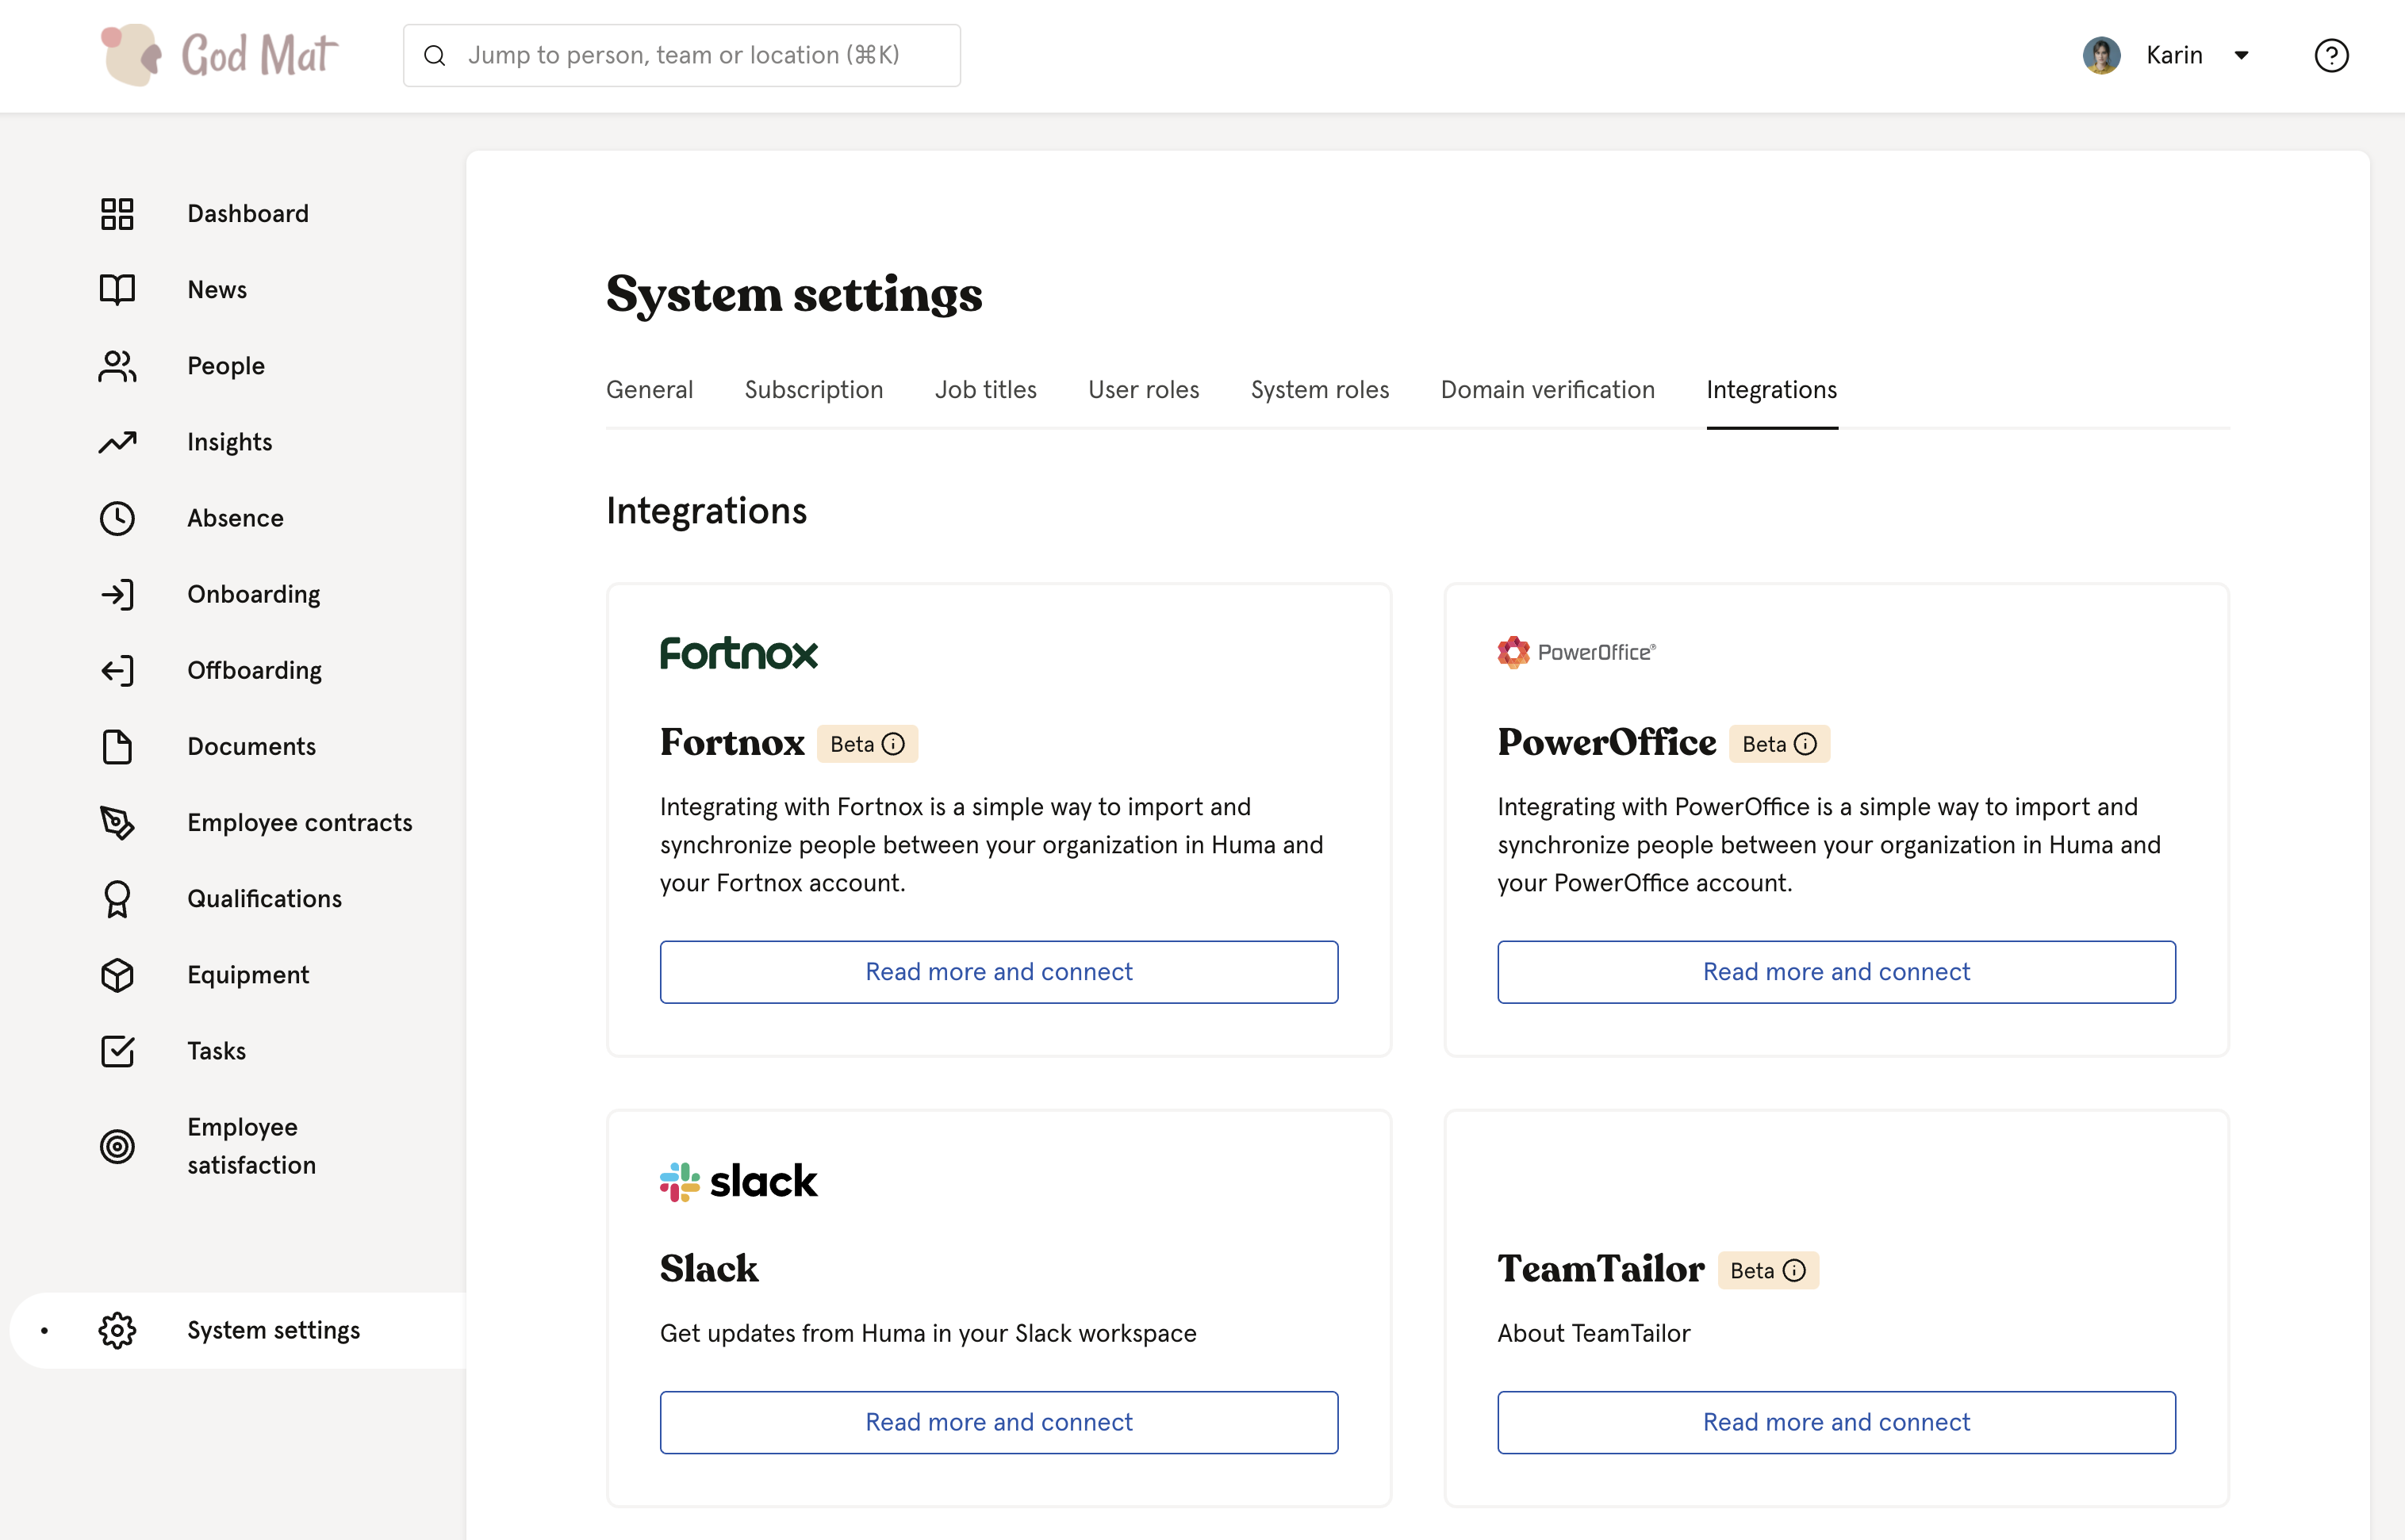
- Go to 'Integrations' in the main menu and choose 'PowerOffice'
- Please read all the information about the PowerOffice integration before moving to next step.
- "How to use it"
- "Supported features"
- "Supported fields"
- "Bank account handling"
- "Employment ID handling"
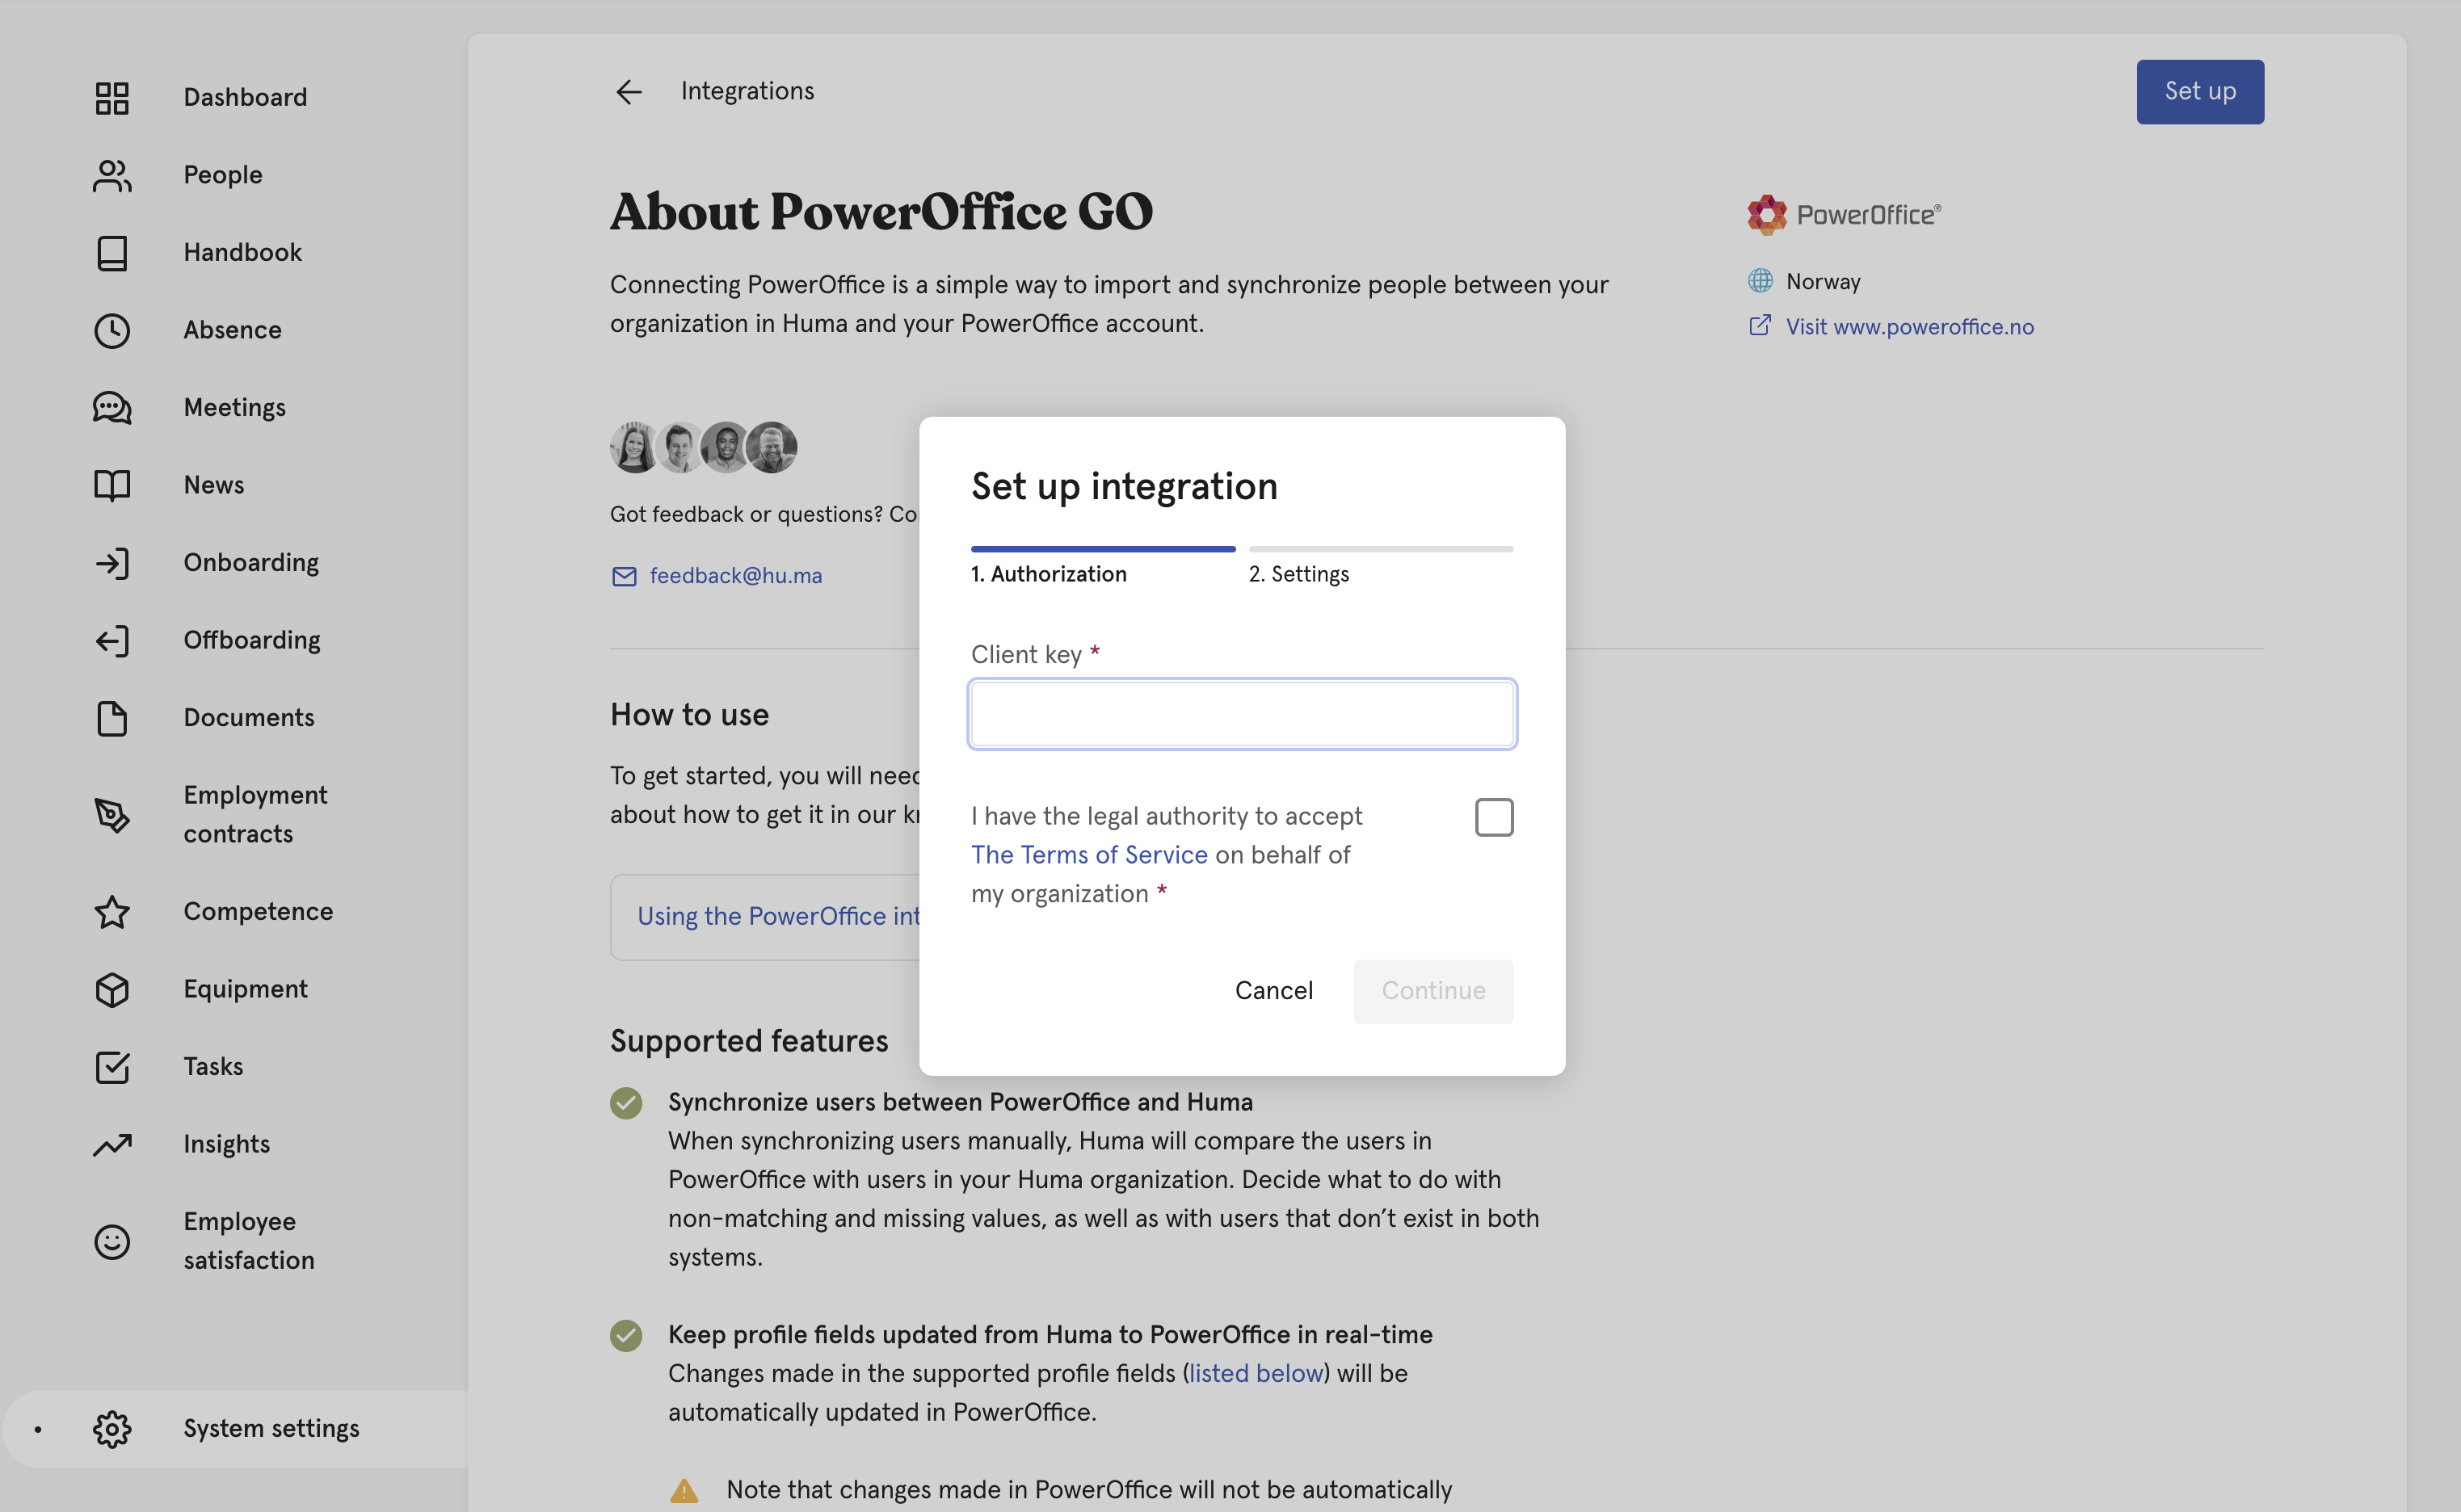
- Click 'Set up' in the upper right corner
- Paste the created PowerOffice 'Client key' and check the box to verify you have the proper authority and click 'Continue'
- When adding users in Huma, you can choose if they should automatically be added in Poweroffice. If you leave this inactive, you need to do a manual sync to add the user in Poweroffice.
If you're using the Teamtailor integration, users added to Huma via that integration will also be added to Poweroffice.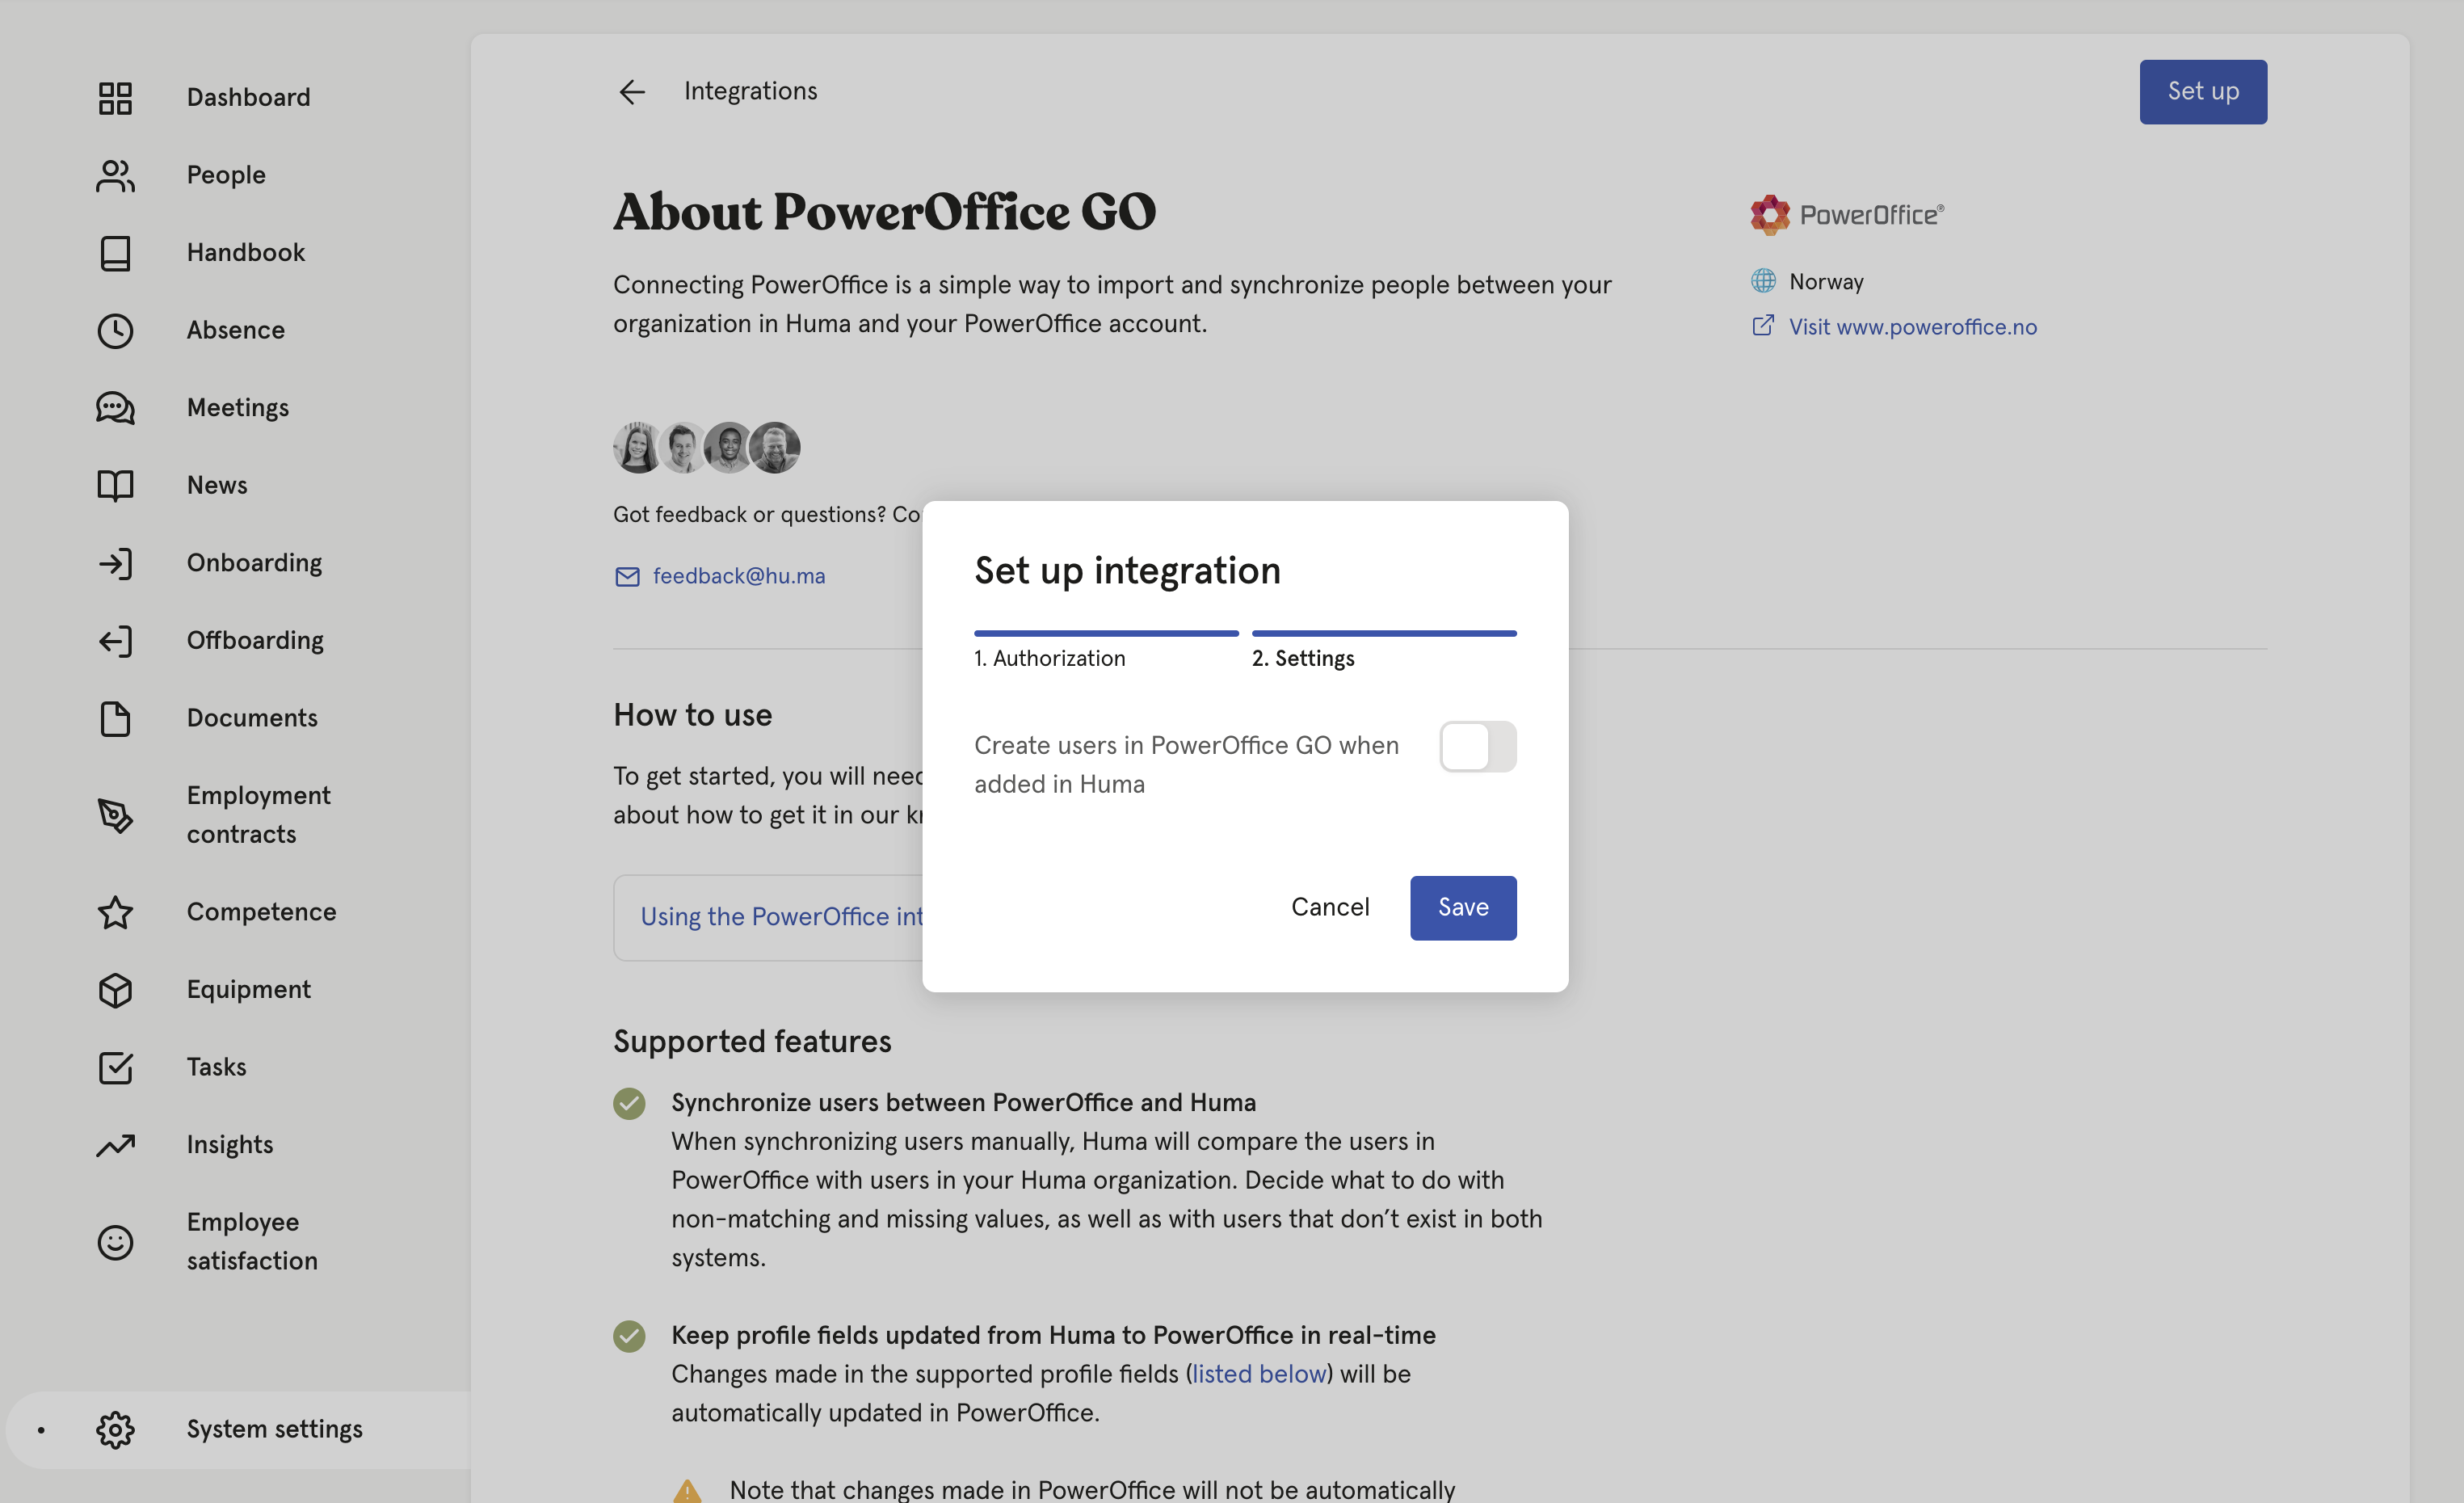
Click 'Save' and a connection is now established between the two systems. Now: On to the next step - it's where the magic happens.
3. Activate the integration. Synchronize users and choose how to handle conflicts or missing values
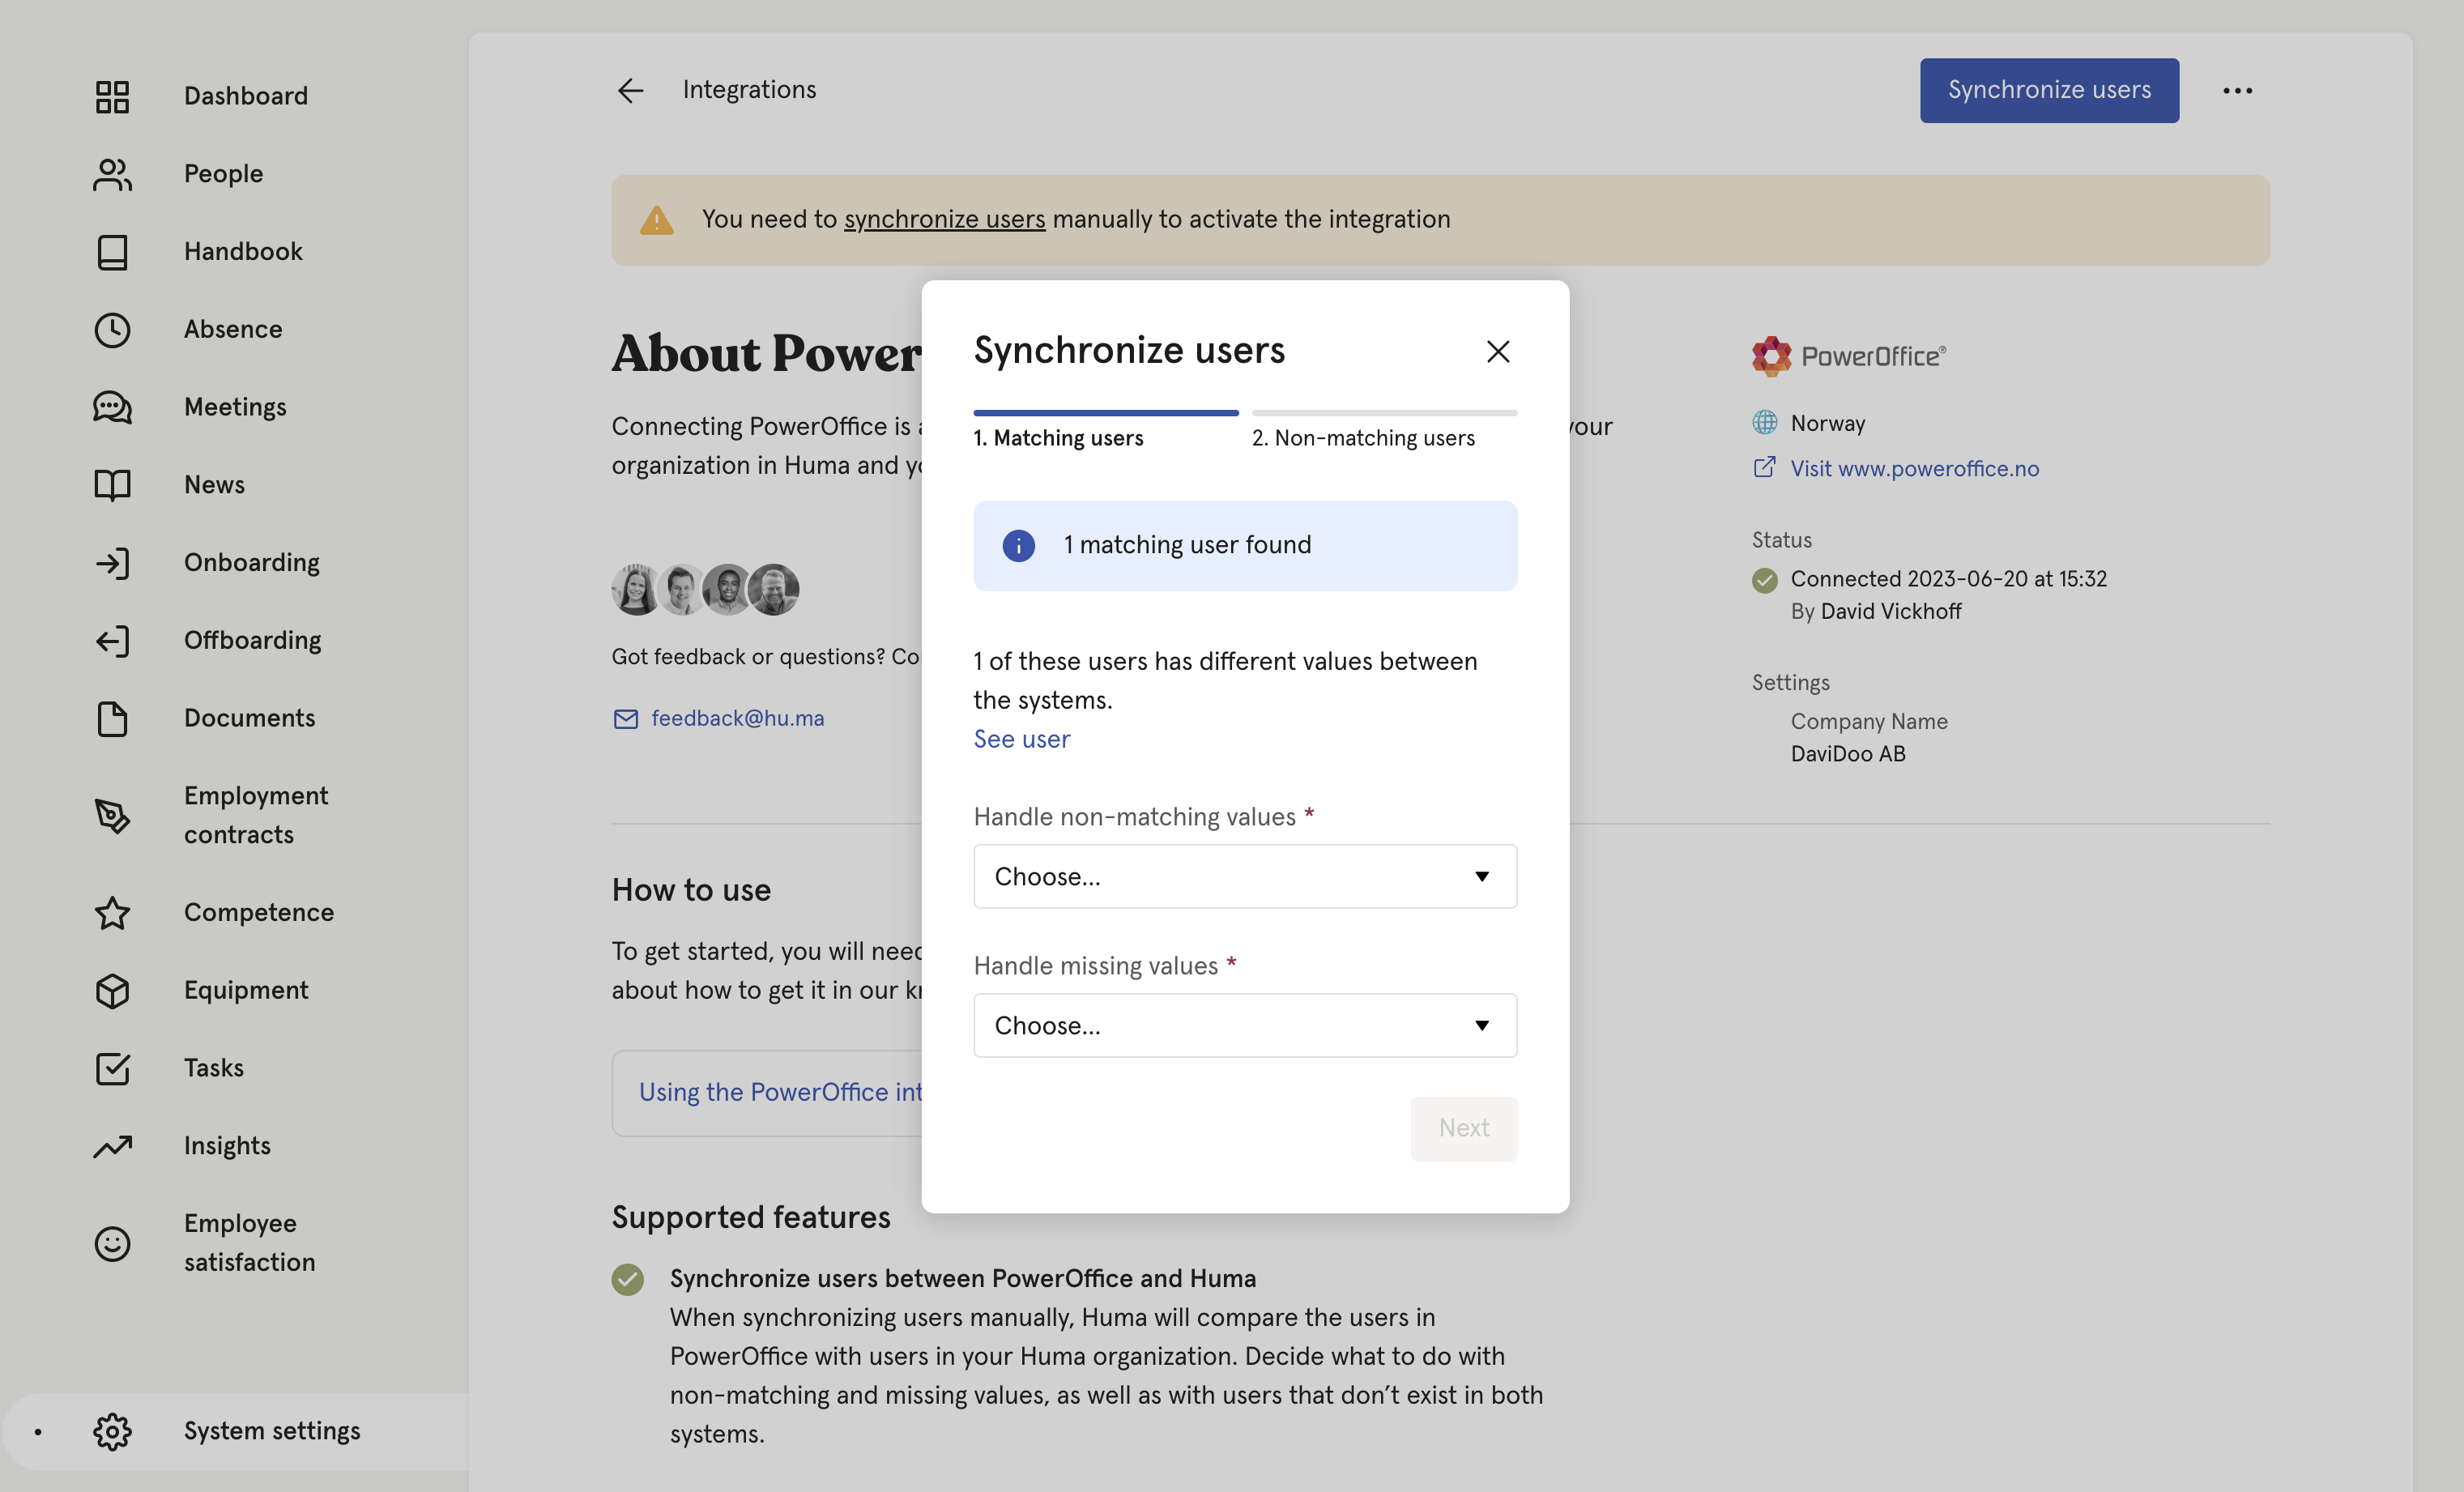
- After clicking 'Continue' you will end up in the Synchronize users step
- Huma will inform you of any conflicts or inconsistency between Huma & PowerOffice and you will have to decide how to handle conflicts and/or missing values. You can decide wether or not you want to update PowerOffice based on values in Huma or the other way around.
- Click 'Next' and decide which users you want to create in Huma & Poweroffice.
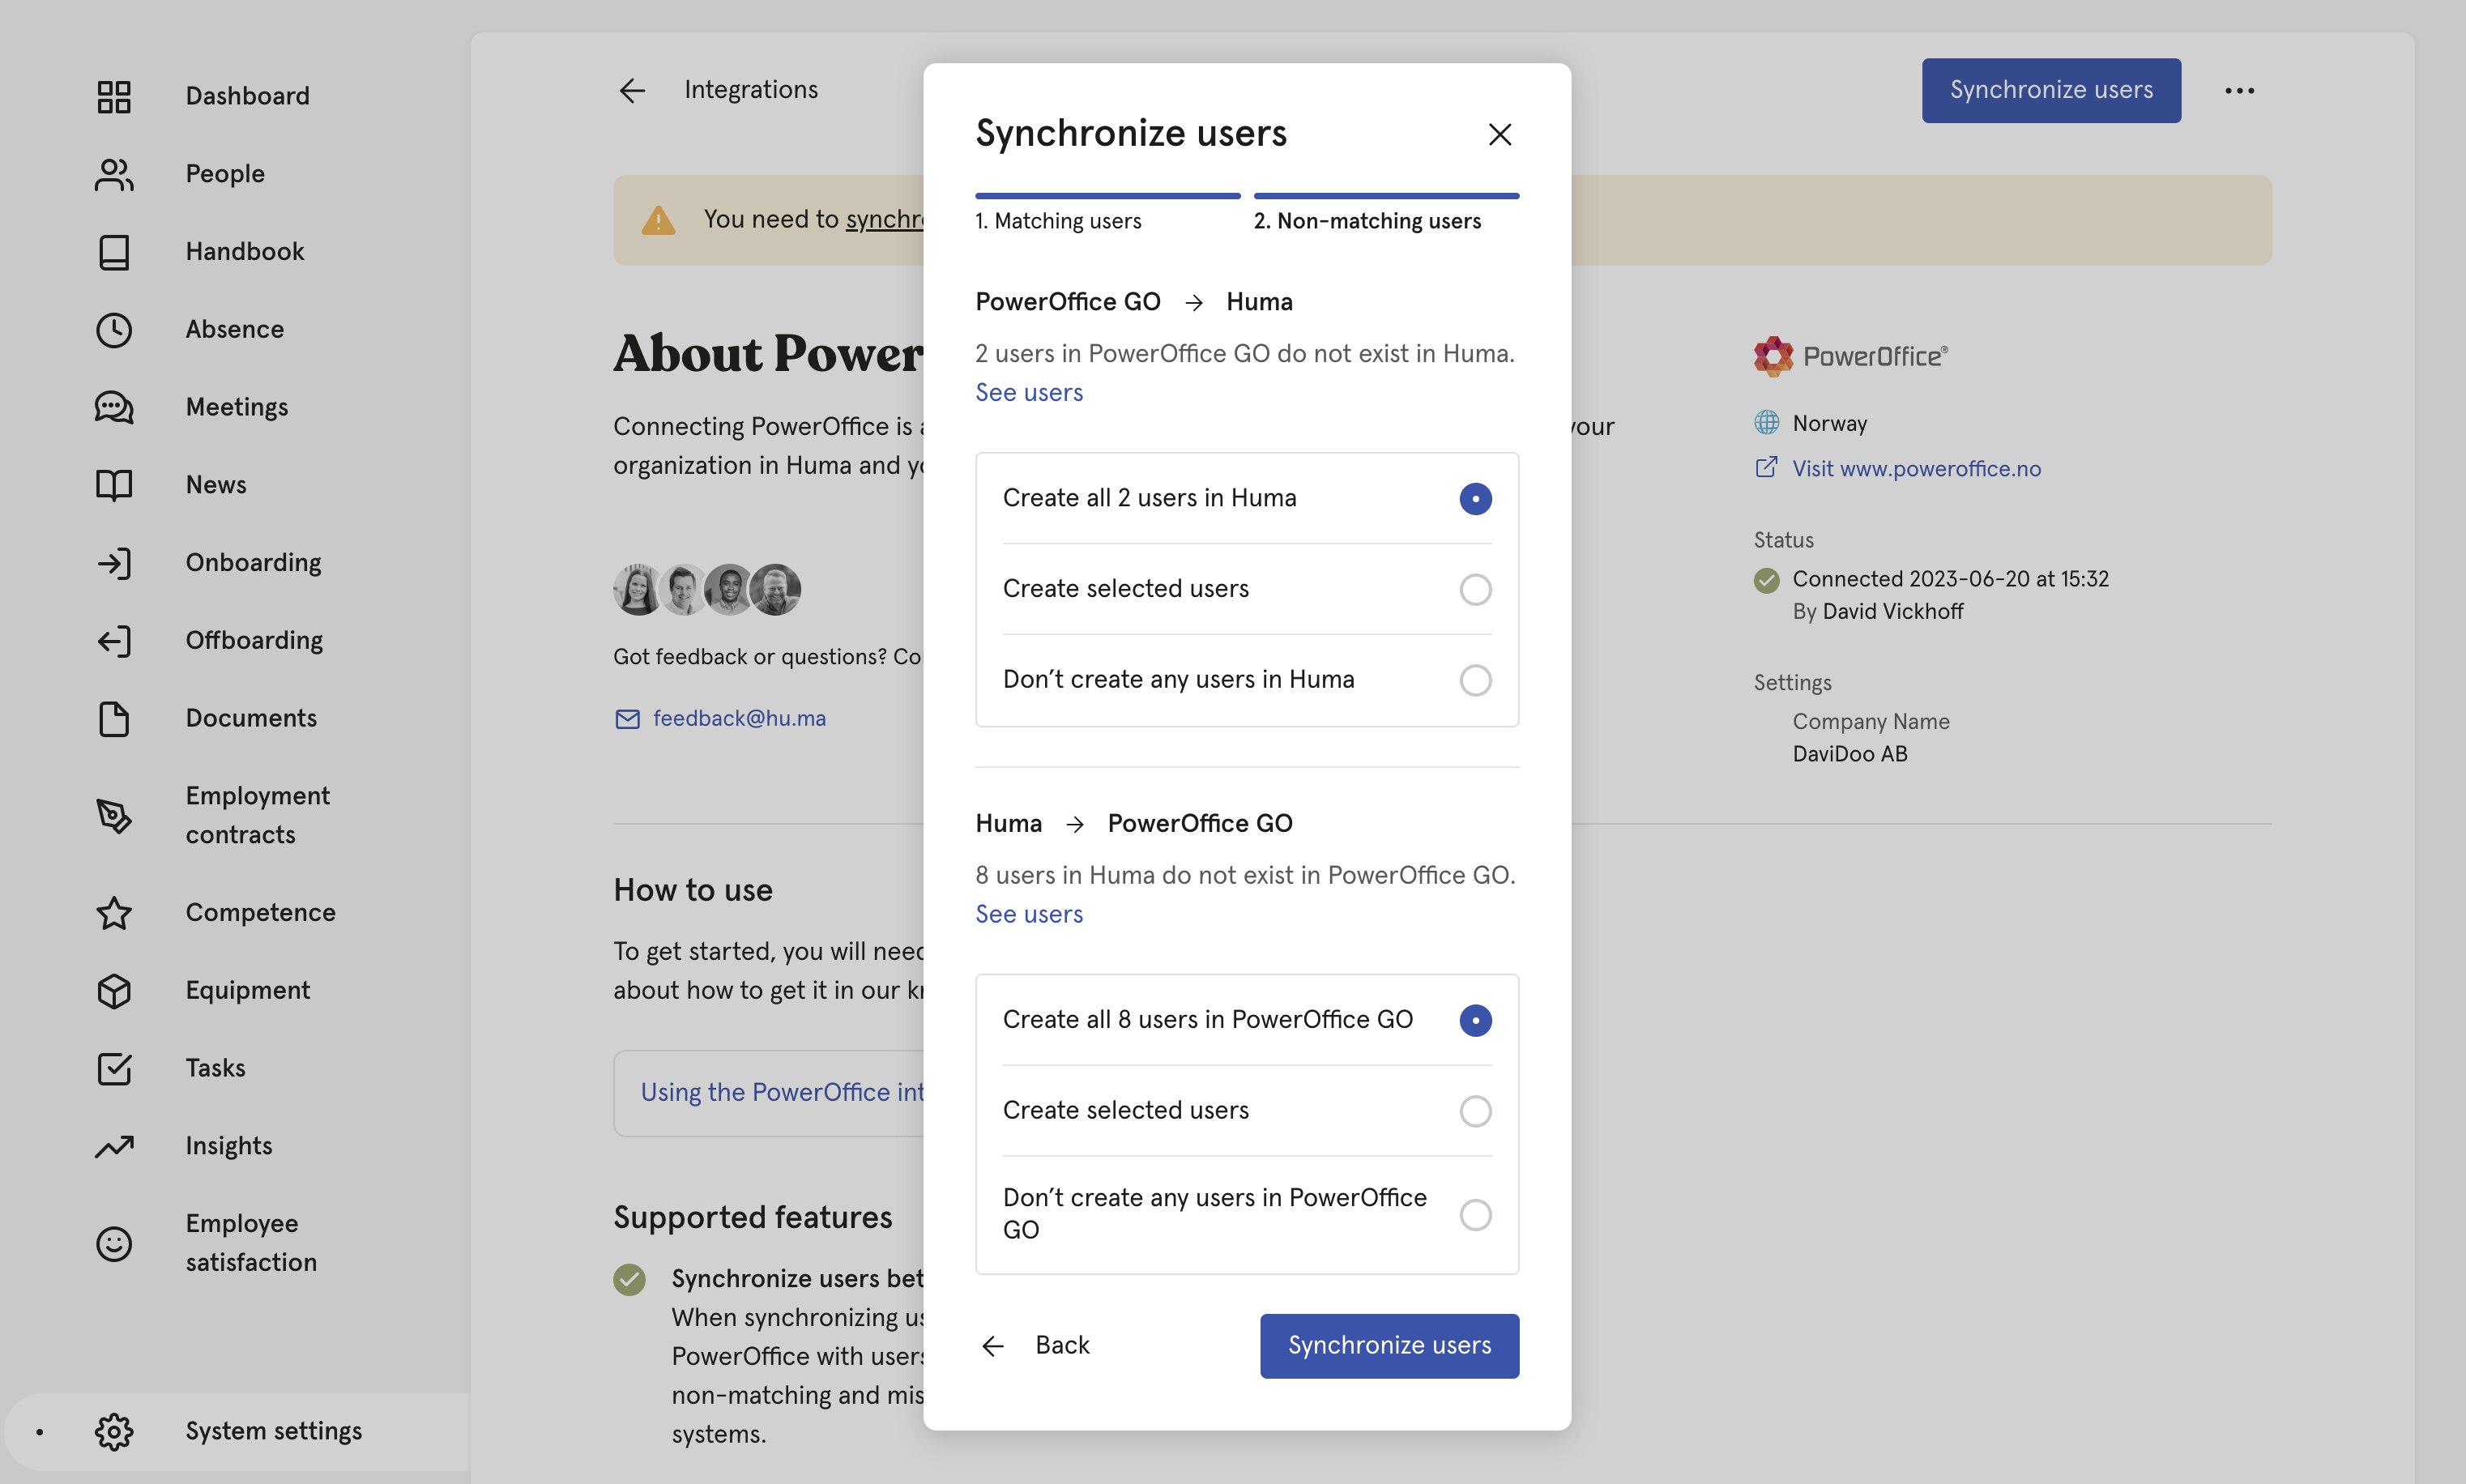
- If users in Poweroffice does not exist in Huma, you can add users to Huma
- If users in Huma does not exist in Poweroffice, you can add users to Poweroffice
- After deciding on the above click 'Synchronize users'
- Huma will now start synchronizing users with PowerOffice. You will receive an email confirming the result.
4. Your connection between Huma and PowerOffice is active 🥳
Any changes made to supported fields in Huma (listed below) will be automatically updated in PowerOffice in real-time.
Please be aware that you need to sync users to get the latest changes from PowerOffice. Changes made in PowerOffice will not be automatically be updated in Huma.
How to synchronize users manually
If you want to synchronize users manually you can always click 'Synchronize users'
Currently supported fields
- Employee ID
- Given name
- Family name
- Phone number
- Address
- Job title
- Hire date
- Employment start date
- Employment end date