
How to register and manage absence and get an overview of registered absence
This is how you register and edit absence:
- Click the absence type you want to register for
- Select the from/to date and press Done. If you want, you can add a comment to describe where or why you will be absent.
If the absence type requires approval, a notification is sent to the person/persons who have absence access on your profile. As an admin (with a system role with full access to Absence) your absence will be approved automatically.
By clicking the already registered absence, you can Add to calendar (Outlook, Google or ICS file), or edit the absence if changes occur.
This is how you can see who is away:
- Click Calendar, you will now see who is away for the selected time-period.
- You can filter the view (Absence type, Teams, Locations) if you want to look closer at certain elements (e.g. who is on parental leave in the location Oslo).
- You can navigate left or right to view historical and future registrations (private entries are limited to one month back and forth for regular employees)
- Regular employees will only see approved and ongoing private entries as 'Away' in the Calendar view as the absence type will be hidden.
- Private absence entries in the past will not be visible to colleagues.
-
Admins or people with a specific role in Huma will be able to click to see details and also edit absence registrations made by others.
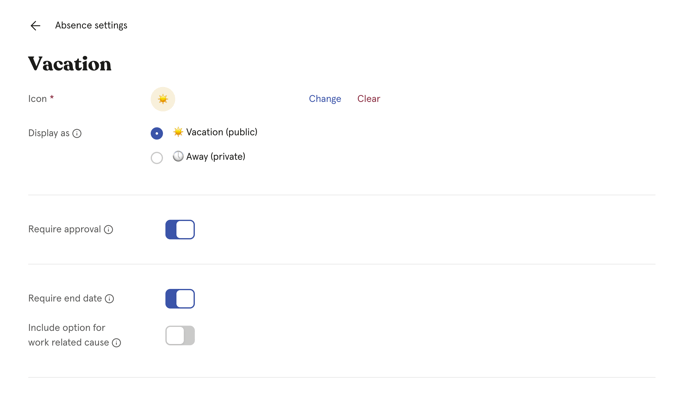
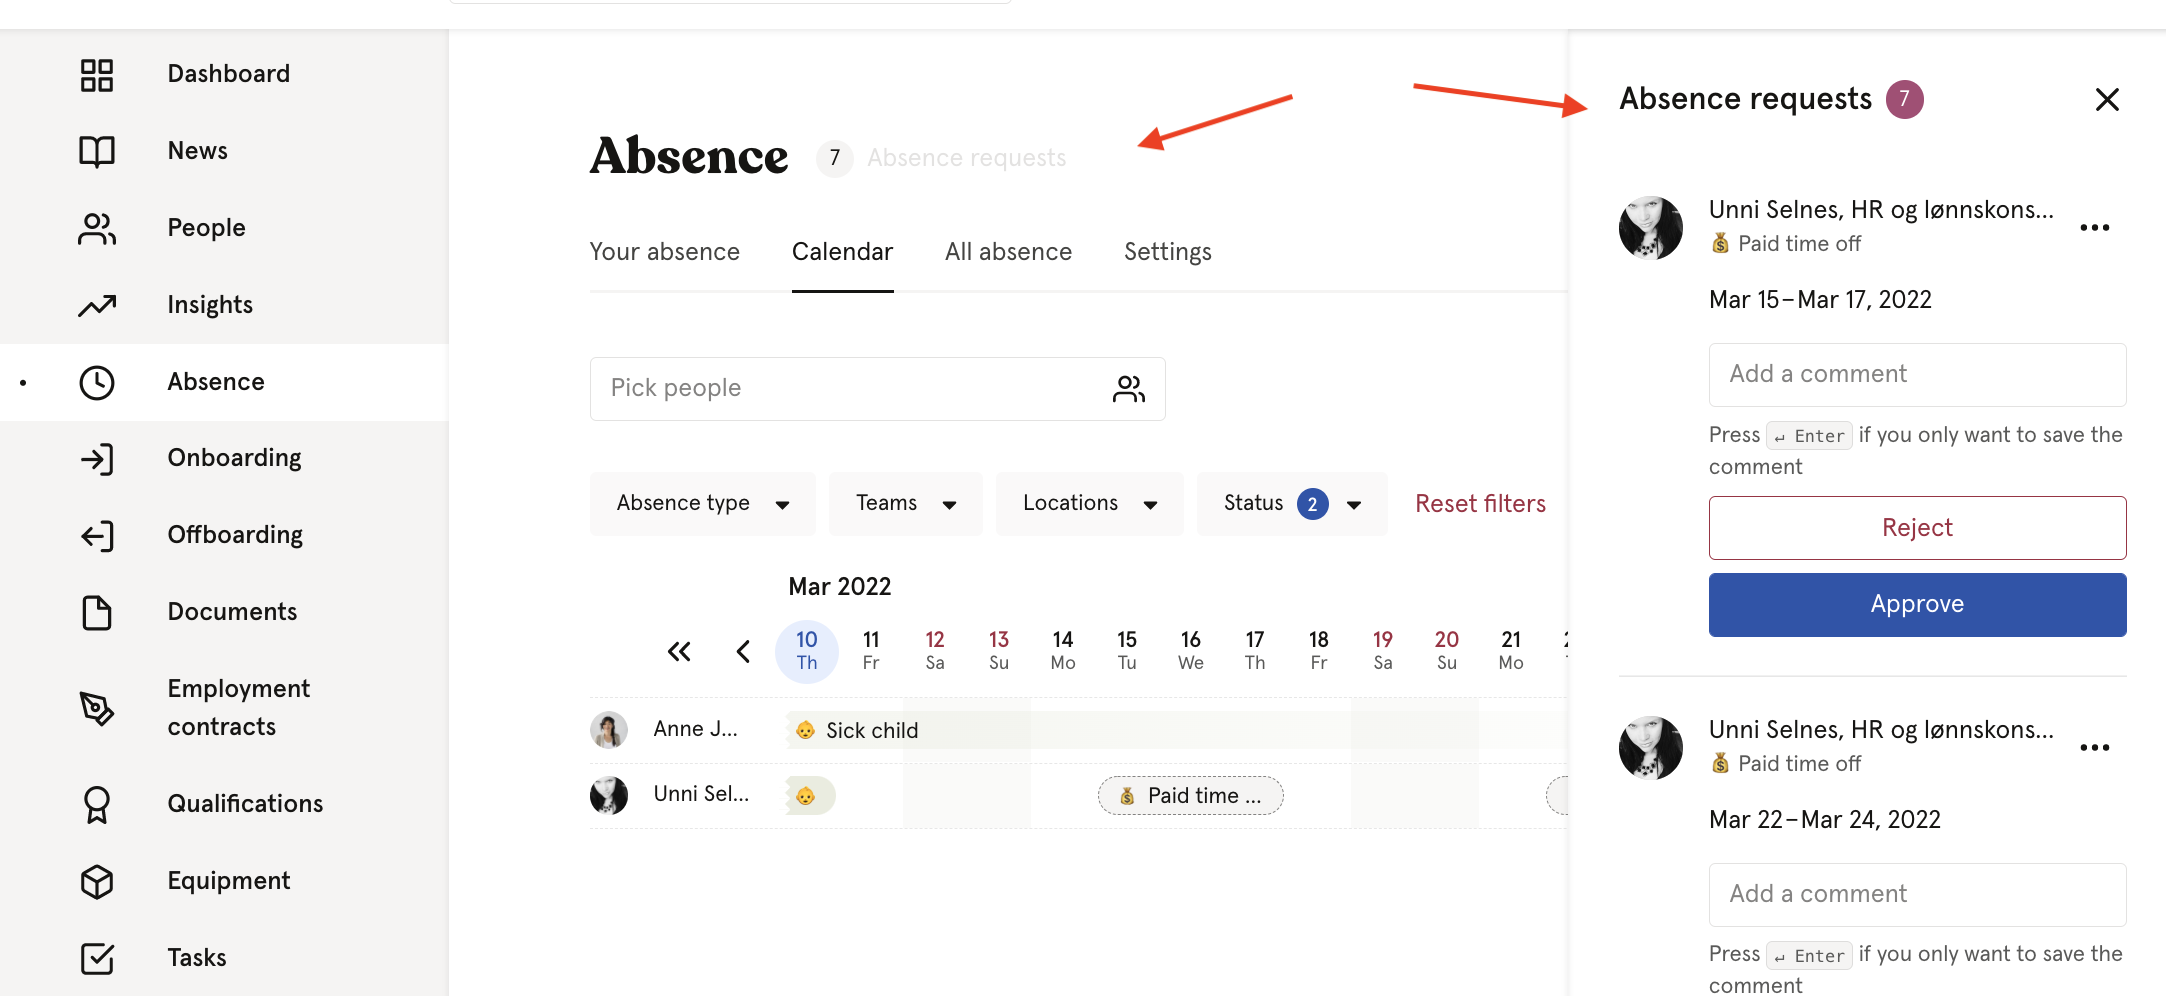
Absence approval
Absences can be submitted as requests, which must be approved by a manager. To set up approval, you must enter the absence type under Settings and turn on Require approval. The manager will then receive the requests and can approve, reject or change the absence entry. All parties involved receive a notification by email and/or push.
To be able to approve absences in Huma, one must have one of the following roles with "full access" over absences:
- System Role (default role automatically has full access)
- User Role (default role automatically has full access)
- Manager (user role) over team or location
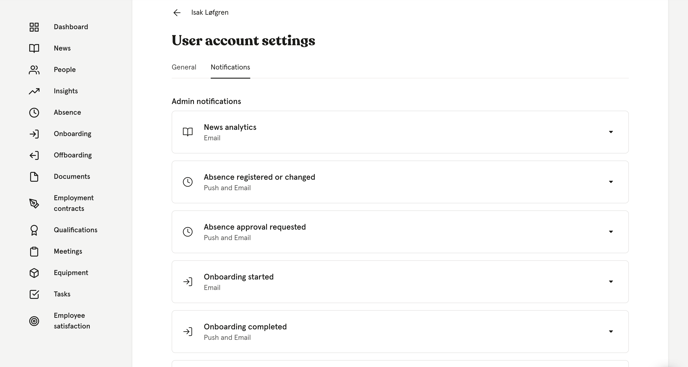
Notifications
Team managers and supervisors with a system role with full access to Absence will get notified when their subordinates register or edit absence.
Admins with a system role with full access to Absence will get notified by all registrations and edited absence.
You can choose which notifications you want to receive under your User account settings.
There are some cases where vacation is automatically approved in Huma, and one only receives a notification:
- When a person is a system admin in Huma or has another system role with "full access" over absences.
- When a user has a manager role (under user role) over a team or location.
If the manager is part of the team/location they lead, their vacation is automatically approved. This is because the standard manager role has vacation approval and editing enabled.
- The direct manager has it automatically active from the user role.
Counting of days
Huma will count workdays based on the work schedule (weekdays and public holidays) and the absence settings for the absence type and policy. Currently, Huma does not support country-specific rules*
*Example: Self-certification (egenmeldinger) in Norway.
Norwegian rules state: If you are sick on both sides of the weekend (or another non-working period), the days off are included. If you become ill on Friday and the following Monday, it counts as four self-certification days.
➡️ In Huma, this absence will be counted by general rules, as 2 workdays.
Norwegian rules state: If you are sick on Friday, Saturday, and Sunday, it counts as one self-certification day.
➡️ In Huma, this absence will be counted by general rules, as 1 workday.